


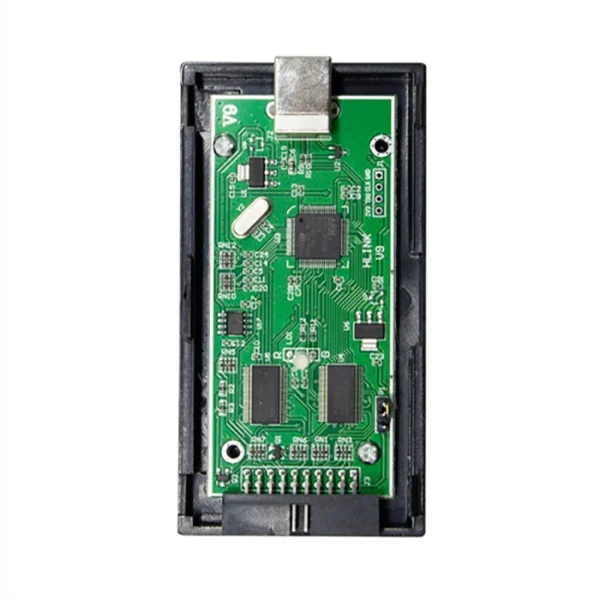
با استفاده از شیلد CNC برای آردوینو UNO و MEGA2560 ، میتوانید یک سیستم CNC با چهار استپر موتور بسازید. این شیلد از درایورهای A4988 و سایر درایورهای سازگار با همان استاندارد پین پشتیبانی میکند و میتواند در پروژههایی نظیر ساخت CNC، پلاتر و انواع سیستمهای مشابه مورد استفاده قرار گیرد. با پین هدرهای استاندارد برای نصب درایورها و پشتیبانی از نرمافزار GRBL، این شیلد توانایی کنترل دقیق حرکت محورهای X، Y، Z و A را فراهم میآورد. همچنین دارای پین هدرهای خروجی برای سوئیچهای اند استاپ و اتصال سروو موتور است. این ویژگیها آن را به گزینهای ایدهآل برای پروژههای مدرن CNC و ماشینآلات خودکار تبدیل کرده است.

مشخصات :
مناسب آردوینو UNO و MEGA2560
دارای محل نصب 4 درایور استپر موتور
پشتیبانی از درایور A4988 و دیگر درایور های با همان استاندارد پین
دارای هدر خروجی برای تمامی پین های آردوینو
پشتیبانی از GRBL
![]()
Specification
Latest Arduino CNC Shield V3
GRBL 0.8c compatible. (Open source firmware that runs on an Arduino UNO that turns G-code commands into stepper signals)
4-Axis support (X, Y, Z , A-Can duplicate X,Y,Z or do a full 4th axis with custom firmware using pins D12 and D13)
2 x End stops for each axis (6 in total)
Spindle enable and direction
Coolant enable
Uses removable Pololu A4988 compatible stepper drivers. (A4988, DRV8825 and others)
Jumpers to set the Micro-Stepping for the stepper drivers. (Some drivers like the DRV8825 can do up to 1/32 micro-stepping )
Compact design.
Stepper Motors can be connected with 4 pin molex connectors or soldered in place.
Runs on 12-36V DC. (At the moment only the Pololu DRV8825 drivers can handle up to 36V so please consider the operation voltage when powering the board.)
Please note that this is an unassembled kit and needs soldering.
Instruction
UNO for Arduino———————- expansion board
8 ———————— EN ( stepper motor driver enable , active low )
7 ———————– Z.DIR (Z -axis direction control )
6 ———————– Y.DIR (Y -axis direction control )
5 ———————– X.DIR (X -axis direction control )
4 ———————- Z.STEP (Z -axis stepper control )
3 ———————- Y.STEP (Y -axis stepper control )
2 ———————- X.STEP (X -axis stepper control )
/ / The following is a simple stepper motor control procedures,
# define EN 8 / / stepper motor enable , active low
# define X_DIR 5 / / X -axis stepper motor direction control
# define Y_DIR 6 / / y -axis stepper motor direction control
# define Z_DIR 7 / / z axis stepper motor direction control
# define X_STP 2 / / x -axis stepper control
# define Y_STP 3 / / y -axis stepper control
# define Z_STP 4 / / z -axis stepper control
/ *
/ / Function : step . function: to control the direction of the stepper motor , the number of steps .
/ / Parameters : dir direction control , dirPin corresponding stepper motor DIR pin , stepperPin corresponding stepper motor ” step ” pin , Step number of step of no return value.
* /
void step (boolean dir, byte dirPin, byte stepperPin, int steps)
{
digitalWrite (dirPin, dir);
delay (50);
for (int i = 0; i <steps; i + +) {
digitalWrite (stepperPin, HIGH);
delayMicroseconds (800);
digitalWrite (stepperPin, LOW);
delayMicroseconds (800);
}
}
void setup () {/ / The stepper motor used in the IO pin is set to output
pinMode (X_DIR, OUTPUT); pinMode (X_STP, OUTPUT);
pinMode (Y_DIR, OUTPUT); pinMode (Y_STP, OUTPUT);
pinMode (Z_DIR, OUTPUT); pinMode (Z_STP, OUTPUT);
pinMode (EN, OUTPUT);
digitalWrite (EN, LOW);
}
void loop () {
step (false, X_DIR, X_STP, 200); / / X axis motor reverse 1 ring, the 200 step is a circle.
step (false, Y_DIR, Y_STP, 200); / / y axis motor reverse 1 ring, the 200 step is a circle.
step (false, Z_DIR, Z_STP, 200); / / z axis motor reverse 1 ring, the 200 step is a circle.
delay (1000);
step (true, X_DIR, X_STP, 200); / / X axis motor forward 1 laps, the 200 step is a circle.
step (true, Y_DIR, Y_STP, 200); / / y axis motor forward 1 laps, the 200 step is a circle.
step (true, Z_DIR, Z_STP, 200); / / z axis motor forward 1 laps, the 200 step is a circle.
delay (1000);
}
Note: When inserting the A4988 module, must be careful not to insert opposite. Stepper motor wiring as follows:
2A, 2B is a group (red, green), 1A, 1B is a group (blue, yellow), if want to change direction, can be change the position of one group , for example 2A, 2B mutually exchanged.
![]()
محصولات ویژه
کیت فلزیاب حرفهای FPI برد SMD نسخه نامحدود (فلزجو FELEZJOO FULL)
قیمت اصلی: 59,000,000 ریال بود.52,400,000 ریالقیمت فعلی: 52,400,000 ریال.
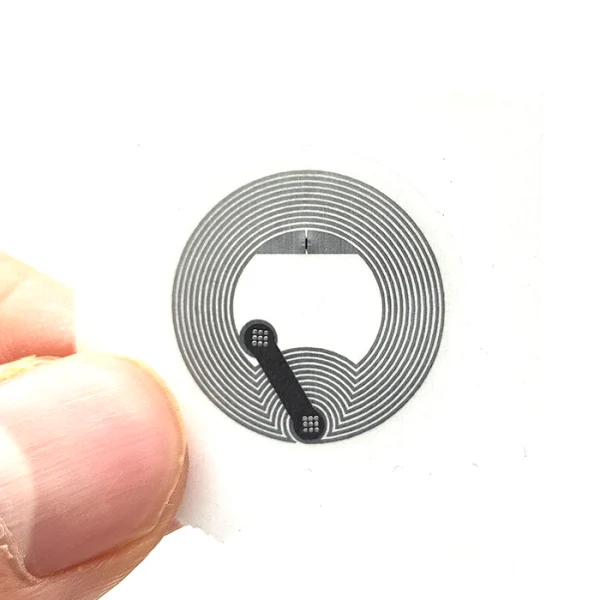
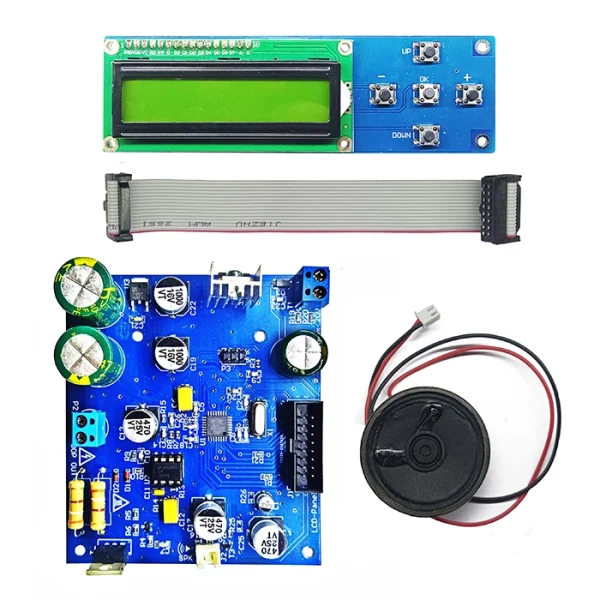
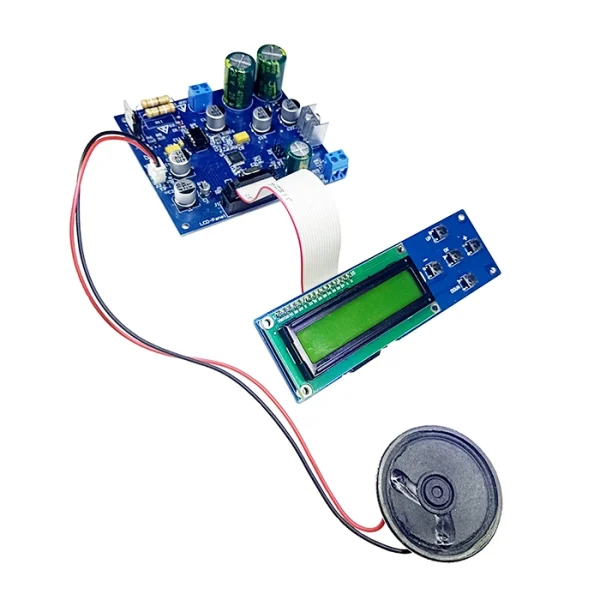
تگ NFC پشت برچسب دار (لیبل) گرد سکهای فرکانس 13.56 قطر 25mm
قیمت اصلی: 174,000 ریال بود.159,000 ریالقیمت فعلی: 159,000 ریال.
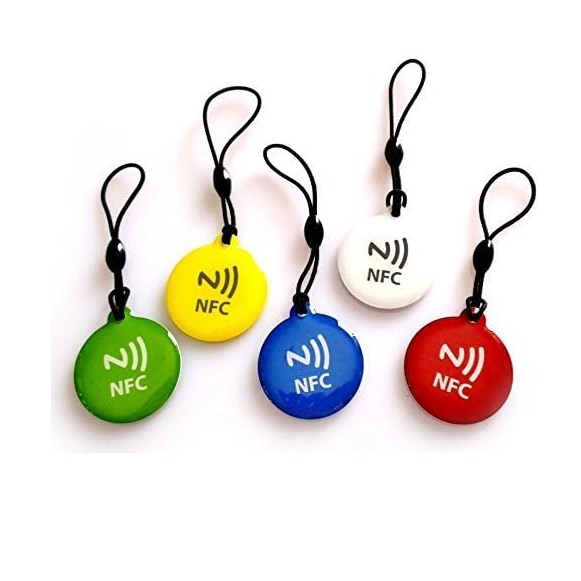
تگ گرد جاسوئیچی شیشهای NFC NTAG215 RFID رنگ آبی
قیمت اصلی: 850,000 ریال بود.750,000 ریالقیمت فعلی: 750,000 ریال.
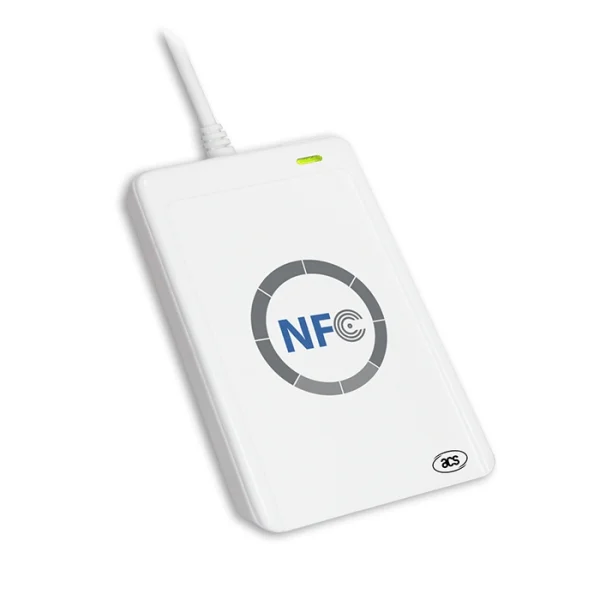
دستگاه کارتخوان RFID و NFC فرکانس 13.56 با قابلیت خواندن و نوشتن مدل ACR122U
قیمت اصلی: 55,200,000 ریال بود.49,000,000 ریالقیمت فعلی: 49,000,000 ریال.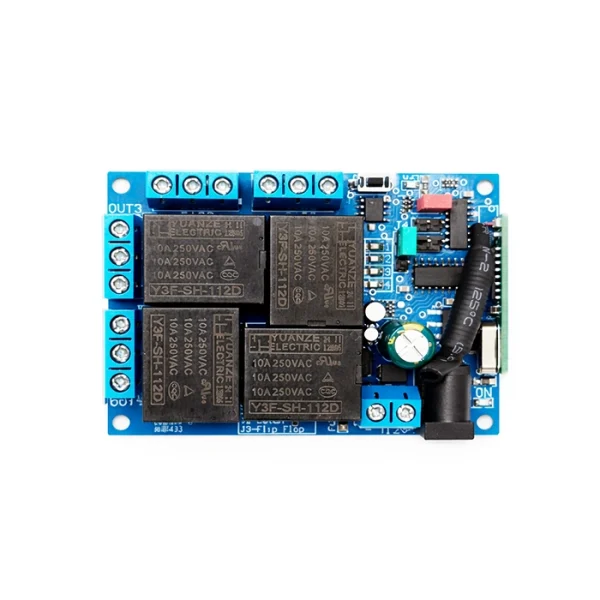

ماژول رله گیرنده ریموت 4 کانال 12 ولت فرکانس 433MHz کد لرنینگ
قیمت اصلی: 9,100,000 ریال بود.8,600,000 ریالقیمت فعلی: 8,600,000 ریال.

ماژول کاهنده روبردی 220V به 5V جریان 600mA مدل HLK-PM01 برند Hi-Link
قیمت اصلی: 2,990,000 ریال بود.2,950,000 ریالقیمت فعلی: 2,950,000 ریال.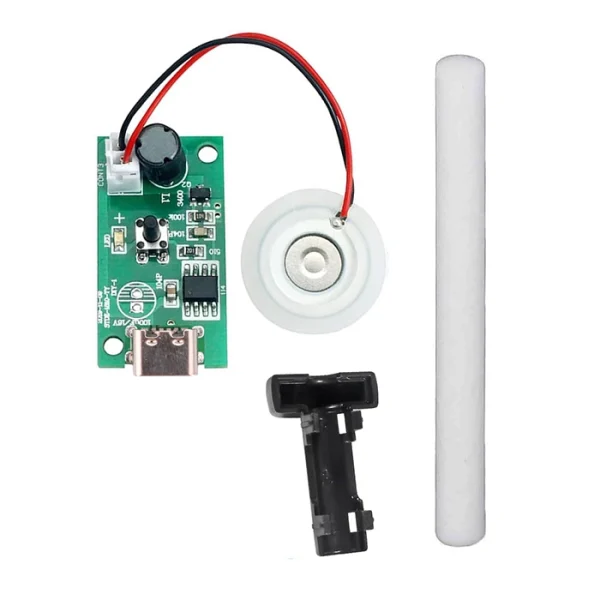
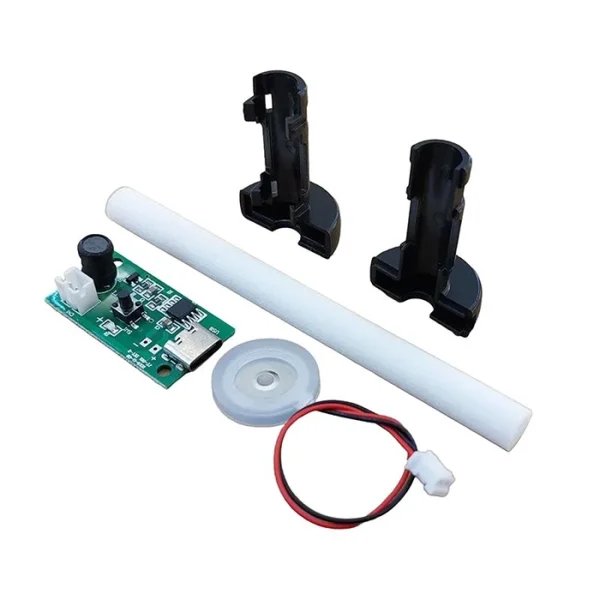
ماژول تولید بخار سرد التراسونیک 5 ولت تک پیزو USB Type C ( اتومیزر )
قیمت اصلی: 1,098,900 ریال بود.1,086,690 ریالقیمت فعلی: 1,086,690 ریال.
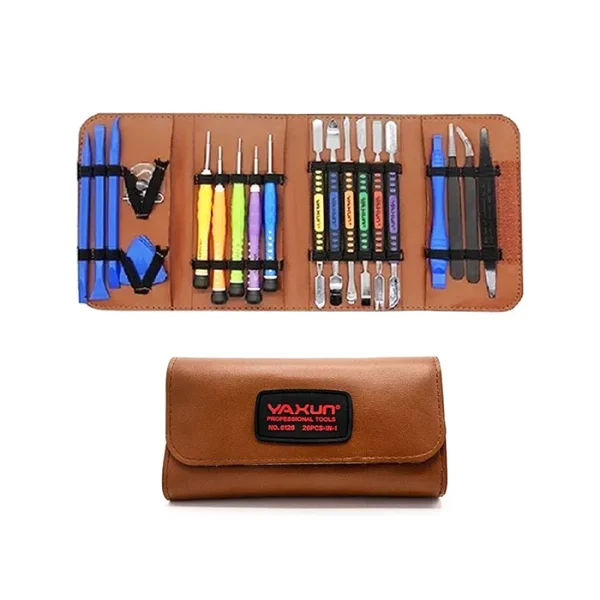
کیف ست پیچ گوشتی و اسپاتول یاکسون 24 ابزار YAXUN YX-6126
قیمت اصلی: 19,536,000 ریال بود.15,873,000 ریالقیمت فعلی: 15,873,000 ریال.

ولت متر آمپر متر دیجیتالی AC پنلی (تابلویی) 50 تا 500 ولت و 0 تا 100 آمپر مربعی زرد
قیمت اصلی: 2,991,450 ریال بود.2,686,200 ریالقیمت فعلی: 2,686,200 ریال.

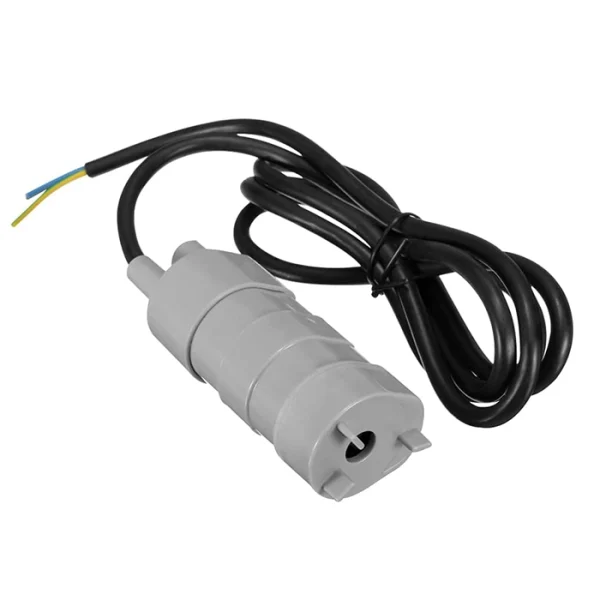
سنسور تعیین سطح مایعات Water Level Sensor
قیمت اصلی: 1,850,000 ریال بود.1,690,000 ریالقیمت فعلی: 1,690,000 ریال.

ولت متر آمپر متر دیجیتالی 0 تا 100 ولت 10 آمپر DC قرمز – آبی
قیمت اصلی: 1,831,500 ریال بود.1,489,620 ریالقیمت فعلی: 1,489,620 ریال.
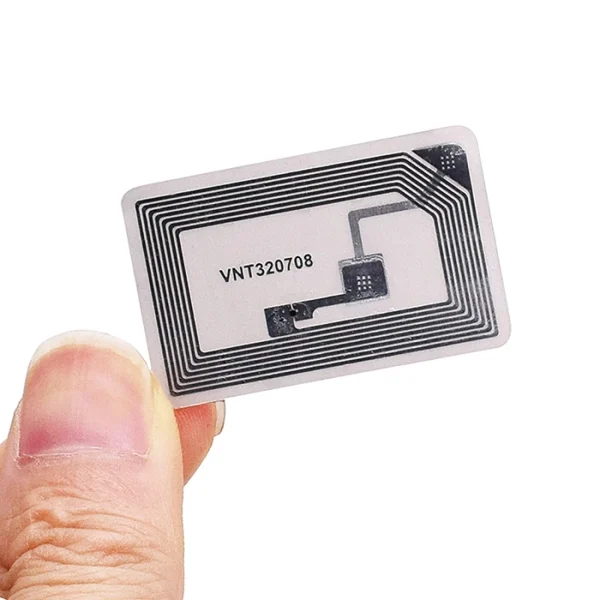
تگ NFC پشت برچسب دار (لیبل) مستطیلی فرکانس 13.56 ابعاد 25x40mm
قیمت اصلی: 185,000 ریال بود.152,000 ریالقیمت فعلی: 152,000 ریال.

تگ NFC پشت برچسب دار (لیبل) مستطیلی فرکانس 13.56 نسخه بزرگ 18x55mm
قیمت اصلی: 666,691 ریال بود.518,538 ریالقیمت فعلی: 518,538 ریال.

تگ NFC پشت برچسب دار (لیبل) مستطیلی فرکانس 13.56 نسخه مینیاتوری 10x20mm
قیمت اصلی: 222,231 ریال بود.148,154 ریالقیمت فعلی: 148,154 ریال.

برد MP3 پلیر و بلوتوث صوتی پنلی با پشتیبای از فلش USB و رادیو FM
قیمت اصلی: 3,266,175 ریال بود.2,869,350 ریالقیمت فعلی: 2,869,350 ریال.
پمپ آب ( کف کش ) 12 ولت مدل XY-840
قیمت اصلی: 11,599,500 ریال بود.9,157,500 ریالقیمت فعلی: 9,157,500 ریال.
تگ کارتی NFC NTAG215 RFID Mini فرکانس 13.56 مینیاتوری ابعاد 22x30mm
قیمت اصلی: 518,538 ریال بود.370,384 ریالقیمت فعلی: 370,384 ریال.
تگ گرد جاسوئیچی شیشهای NFC NTAG213 RFID رنگ قرمز
قیمت اصلی: 874,106 ریال بود.666,691 ریالقیمت فعلی: 666,691 ریال.

رزبری پای Raspberry Pi 4 -8GB RAM (نسخه اورجینال بریتانیایی)
قیمت اصلی: 170,940,000 ریال بود.150,183,000 ریالقیمت فعلی: 150,183,000 ریال.

ماژول GSM چهار باند SIM800C 24MB
قیمت اصلی: 7,692,300 ریال بود.6,593,400 ریالقیمت فعلی: 6,593,400 ریال.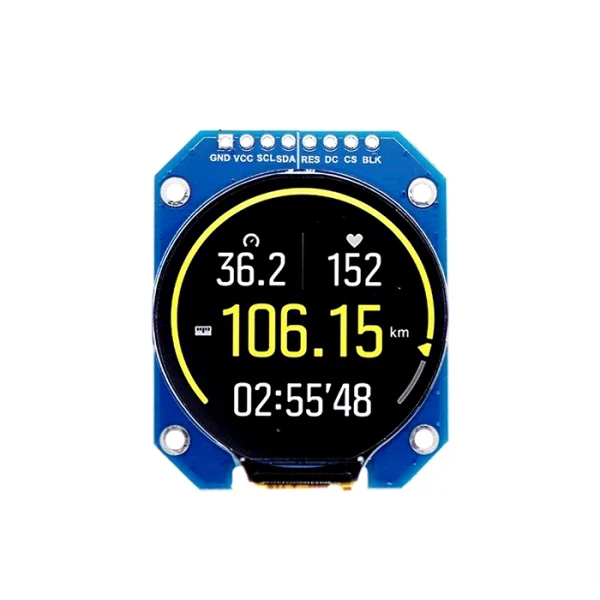
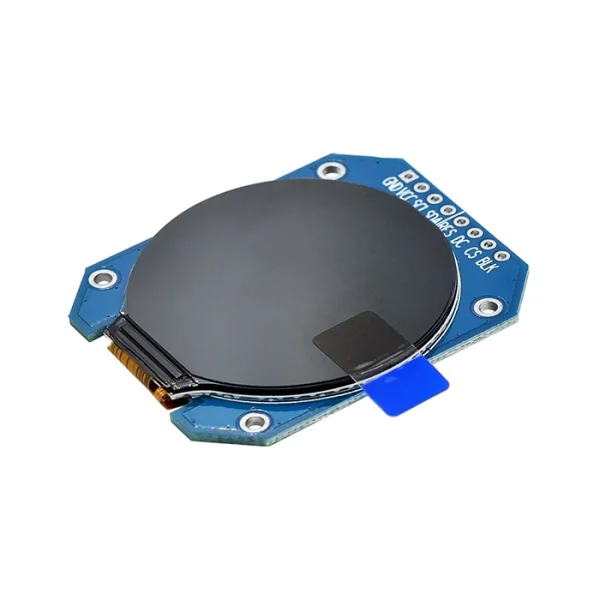
ماژول نمایشگر گرد TFT فول کالر 1.28 اینچ با درایور GC9A01
قیمت اصلی: 6,471,300 ریال بود.4,639,800 ریالقیمت فعلی: 4,639,800 ریال.
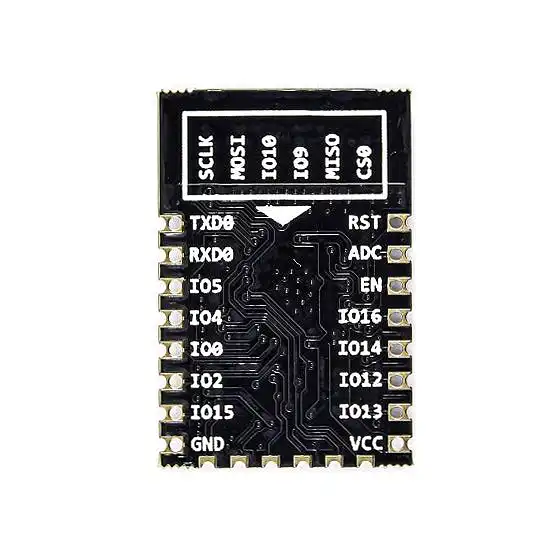
ماژول وایفای ESP8266 برند Ai-Thinker مدل ESP-12F اورجینال
قیمت اصلی: 2,874,234 ریال بود.2,564,100 ریالقیمت فعلی: 2,564,100 ریال.

ماژول افزاینده 1000 کیلو ولت (جرقه زن) مدل XH901
قیمت اصلی: 3,406,590 ریال بود.2,893,770 ریالقیمت فعلی: 2,893,770 ریال.

آداپتور رزبری پای 5 با توان 27 وات Raspberry Pi USB-C Power Supply رنگ سفید (اورجینال)
قیمت اصلی: 31,086,660 ریال بود.26,251,500 ریالقیمت فعلی: 26,251,500 ریال.

ولت متر آمپر متر دیجیتالی AC پنلی 60 تا 500 ولت و 0 تا 99 آمپر
قیمت اصلی: 4,239,800 ریال بود.3,990,000 ریالقیمت فعلی: 3,990,000 ریال.

آنتن پسیو سرامیکی GNSS GPS Passive Antenna
قیمت اصلی: 976,800 ریال بود.793,650 ریالقیمت فعلی: 793,650 ریال.

برد آردوینو Arduino DUE R3
قیمت اصلی: 20,390,700 ریال بود.18,925,500 ریالقیمت فعلی: 18,925,500 ریال.

برد رزبری پای زیرو Raspberry Pi Zero W V1.1
قیمت اصلی: 37,887,630 ریال بود.35,409,000 ریالقیمت فعلی: 35,409,000 ریال.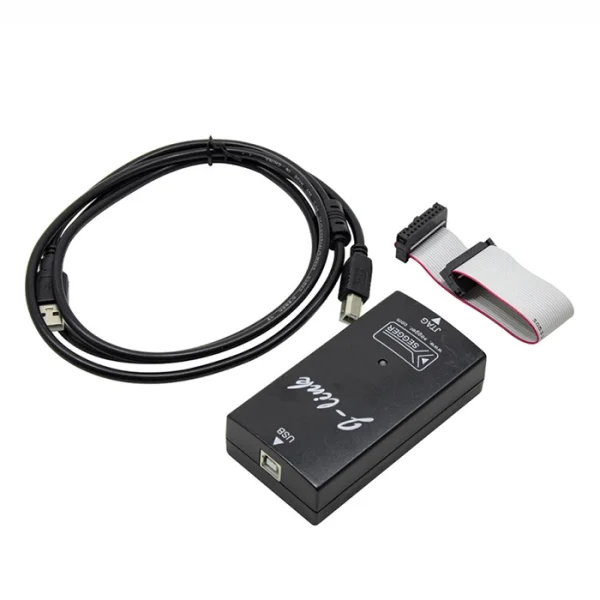
پروگرامر JLink ARM V9.0
قیمت اصلی: 36,385,800 ریال بود.31,006,074 ریالقیمت فعلی: 31,006,074 ریال.

رزبری پای Raspberry Pi 4 -1GB RAM (نسخه اورجینال بریتانیایی)
قیمت اصلی: 97,680,000 ریال بود.87,912,000 ریالقیمت فعلی: 87,912,000 ریال.

رزبری پای 5 رم 4 گیگ Raspberry Pi 5 4GB RAM (نسخه اورجینال بریتانیایی)
قیمت اصلی: 163,614,000 ریال بود.152,625,000 ریالقیمت فعلی: 152,625,000 ریال.

سنسور PH سنج مدل E201-C دارای کانکتور BNC
قیمت اصلی: 12,370,834 ریال بود.11,416,350 ریالقیمت فعلی: 11,416,350 ریال.

سیم جامپر فلت دو سر مادگی 40 رشته (طول 20 سانت)
قیمت اصلی: 1,263,361 ریال بود.897,170 ریالقیمت فعلی: 897,170 ریال.

سیم جامپر فلت نری به مادگی 40 رشته (طول 20 سانت)
قیمت اصلی: 1,242,305 ریال بود.897,170 ریالقیمت فعلی: 897,170 ریال.

شیر برقی سلونوئید آب 220 ولت 1/2 اینچ
قیمت اصلی: 6,068,370 ریال بود.5,650,000 ریالقیمت فعلی: 5,650,000 ریال.

کابل BNC به گیره سوسماری مناسب فانکشن ژنراتور
قیمت اصلی: 2,708,986 ریال بود.2,394,395 ریالقیمت فعلی: 2,394,395 ریال.
کف چین PLATO مدل 170
قیمت اصلی: 1,407,460 ریال بود.1,196,580 ریالقیمت فعلی: 1,196,580 ریال.

ماژول گیرنده رادیویی سوپر هترودین RXB22 فرکانس 315Mhz برند JMR
قیمت اصلی: 888,400 ریال بود.836,385 ریالقیمت فعلی: 836,385 ریال.

ماژول RXC6 فرکانس 433MHz همراه با آنتن
قیمت اصلی: 2,090,352 ریال بود.1,770,450 ریالقیمت فعلی: 1,770,450 ریال.

ماژول سون سگمنت چهار رقمی TM1637
قیمت اصلی: 726,495 ریال بود.714,285 ریالقیمت فعلی: 714,285 ریال.

ماژول کاهنده DC به DC جریان 3 آمپر LM2596
قیمت اصلی: 879,120 ریال بود.750,915 ریالقیمت فعلی: 750,915 ریال.

مینی کیبورد وایرلس دارای تاچ پد WiFi 2.4GHz
قیمت اصلی: 7,111,378 ریال بود.6,889,147 ریالقیمت فعلی: 6,889,147 ریال.
ولت متر آمپر متر دیجیتالی AC پنلی (تابلویی) 50 تا 500 ولت و 0 تا 100 آمپر مربعی سبز
قیمت اصلی: 3,629,766 ریال بود.2,747,250 ریالقیمت فعلی: 2,747,250 ریال.محصولات مرتبط


رزبری پای Raspberry Pi 4 -8GB RAM (نسخه اورجینال بریتانیایی)
قیمت اصلی: 170,940,000 ریال بود.150,183,000 ریالقیمت فعلی: 150,183,000 ریال.


آداپتور رزبری پای 5 با توان 27 وات Raspberry Pi USB-C Power Supply رنگ سفید (اورجینال)
قیمت اصلی: 31,086,660 ریال بود.26,251,500 ریالقیمت فعلی: 26,251,500 ریال.


برد آردوینو Arduino DUE R3
قیمت اصلی: 20,390,700 ریال بود.18,925,500 ریالقیمت فعلی: 18,925,500 ریال.


برد رزبری پای زیرو Raspberry Pi Zero W V1.1
قیمت اصلی: 37,887,630 ریال بود.35,409,000 ریالقیمت فعلی: 35,409,000 ریال.


رزبری پای Raspberry Pi 4 -1GB RAM (نسخه اورجینال بریتانیایی)
قیمت اصلی: 97,680,000 ریال بود.87,912,000 ریالقیمت فعلی: 87,912,000 ریال.

رزبری پای 5 رم 4 گیگ Raspberry Pi 5 4GB RAM (نسخه اورجینال بریتانیایی)
قیمت اصلی: 163,614,000 ریال بود.152,625,000 ریالقیمت فعلی: 152,625,000 ریال.


دیدگاهها
هیچ دیدگاهی برای این محصول نوشته نشده است.